Thursday, July 29, 2010

Gluten Free Peanut Butter Cookies

In addition to chocolate, I'm a bit of a peanut butter fiend. If I need a little snack at work, I have been known to eat spoonfuls of peanut butter right from the jar while looking around furtively to see if anyone has noticed.

They do.

Surprisingly, given my love of peanut butter, I don't make peanut butter cookies all that often. I think the lack of chocolate and somewhat muted peanut butter flavor of a lot of peanut butter cookies probably are to blame, but I've been collecting a few recipes to try to find the best one. This was the first one I tried, and coincidentally, it is also gluten free.


You see, I've been feeling a touch guilty about all the sweet treats I bring in to work because my boss has celiac disease and can't eat anything with gluten in it. As most every dessert calls for some measurement of flour, he hasn't been able to enjoy anything I've brought in, so I made these cookies to bring in just for him. Now, you may think I'm majorly sucking up, but I'd already given notice that I was leaving, so there wasn't really any work-related incentive.

Although I gave him all 10 cookies to have just for himself, after trying one, he proceeded to walk around the office offering them to everyone else so they too could marvel at how good a gluten free cookie could be. He was still talking about them the next day, and even joked that he was going to promote me from my cubicle into the VP's office! If only I weren't leaving...

So if your boss happens to be gluten intolerant, or you've majorly offended your boyfriend/girlfriend/hetero life partner, these are apparently a surefire way to get into their good graces!


These were incredibly easy and quick to make and only used a few ingredients that are probably always stocked in your pantry (unless you don't like peanut butter, in which case, we can't be friends). Because there's no need to wait for butter to soften or dough to chill (for very long) you can decide to make these and be inhaling them 45 minutes later.

These cookies had great texture; the middle was nice and chewy and the outer edges were just a teeny bit crisp but not enough to make a crunch, actually very reminiscent of a classic sugar cookie. Plus, the sugar on the outside gave them a great sweet, sparkly, sugary effect. I also loved the way these looked: nice and crackly on the top. They maybe weren't the best peanut butter cookies I've ever had because I think butter or shortening adds some richness and creaminess to typical peanut butter cookies, but for being completely gluten and butter-free, these were promotion-worthy good.

I had wanted to make them into Peanut Butter Blossoms with chocolate kisses in the middle, but they spread too much during baking. Maybe if the balls of dough were smaller, that would work.

Gluten Free Peanut Butter Cookies
Yield: 10-12 cookies

Ingredients:
1 cup creamy peanut butter
1 cup granulated sugar, plus more for rolling
1 egg
3/4 tsp vanilla extract
1 tsp baking soda
pinch of kosher salt

Directions:
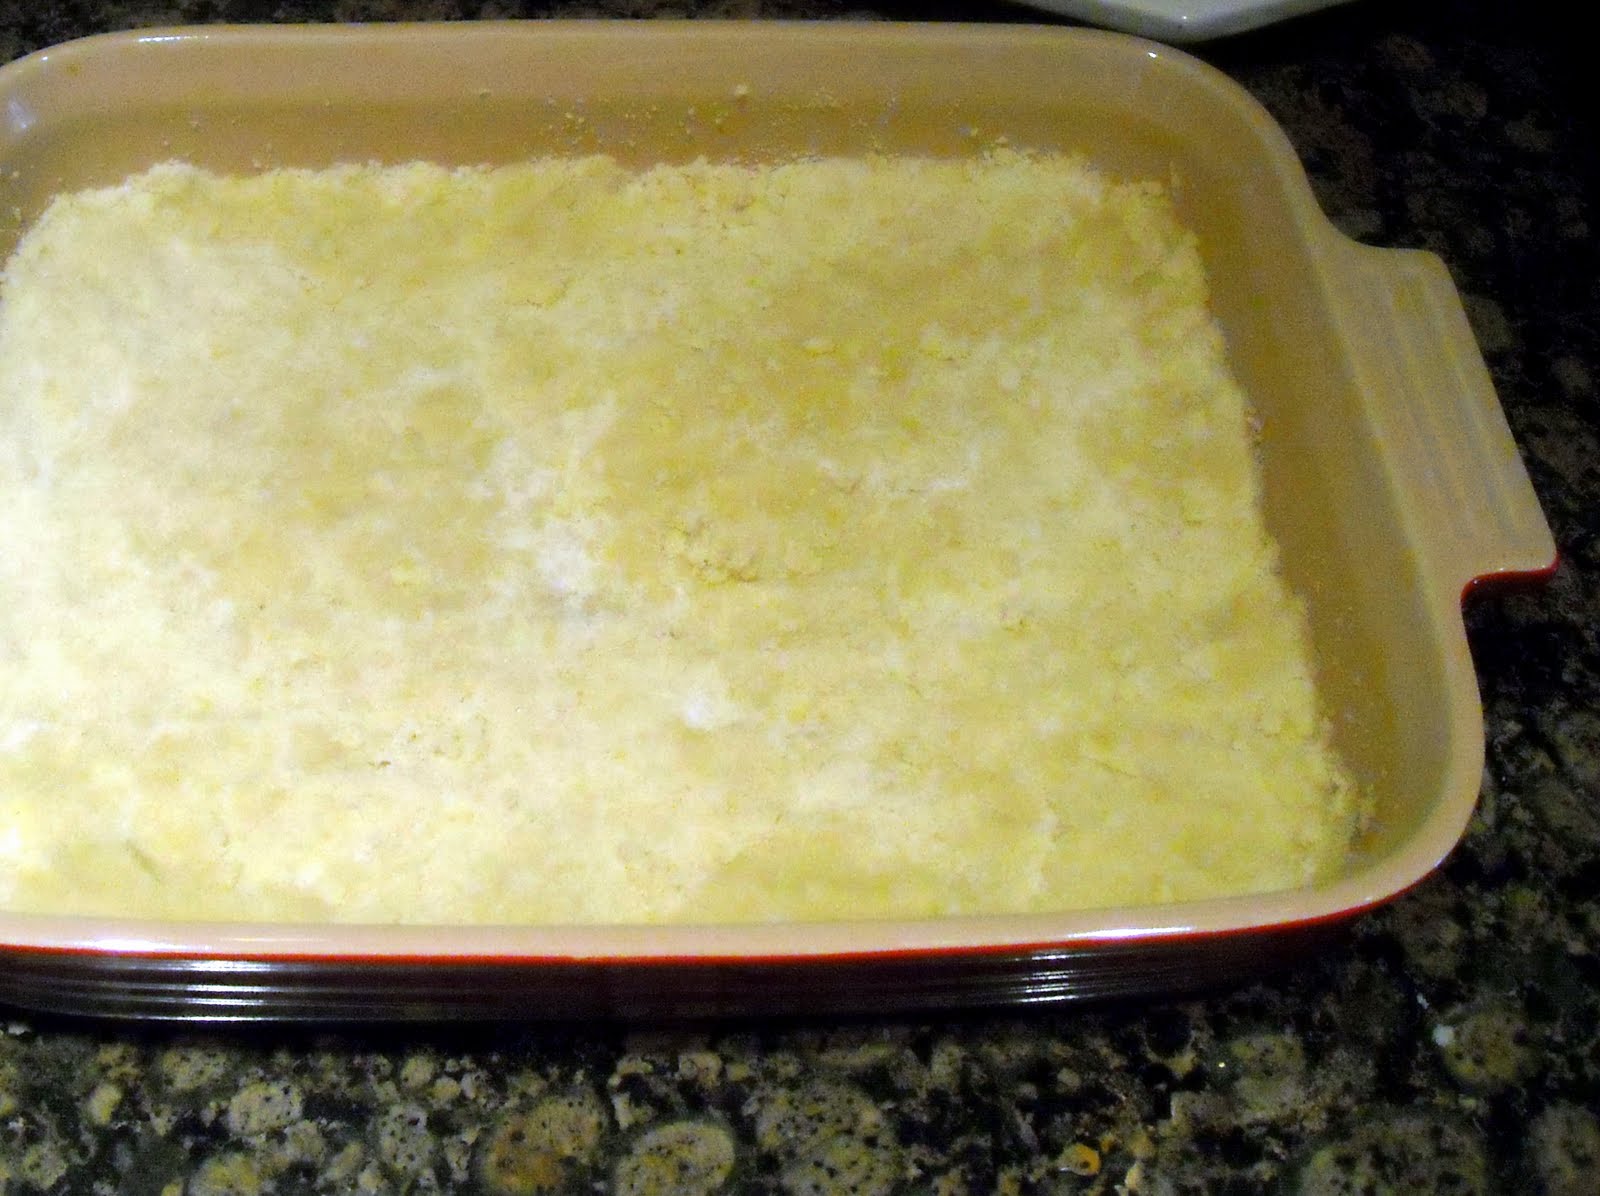
1. Stir together sugar and peanut butter until well mixed.
2. Beat in egg, vanilla, baking soda, and salt.
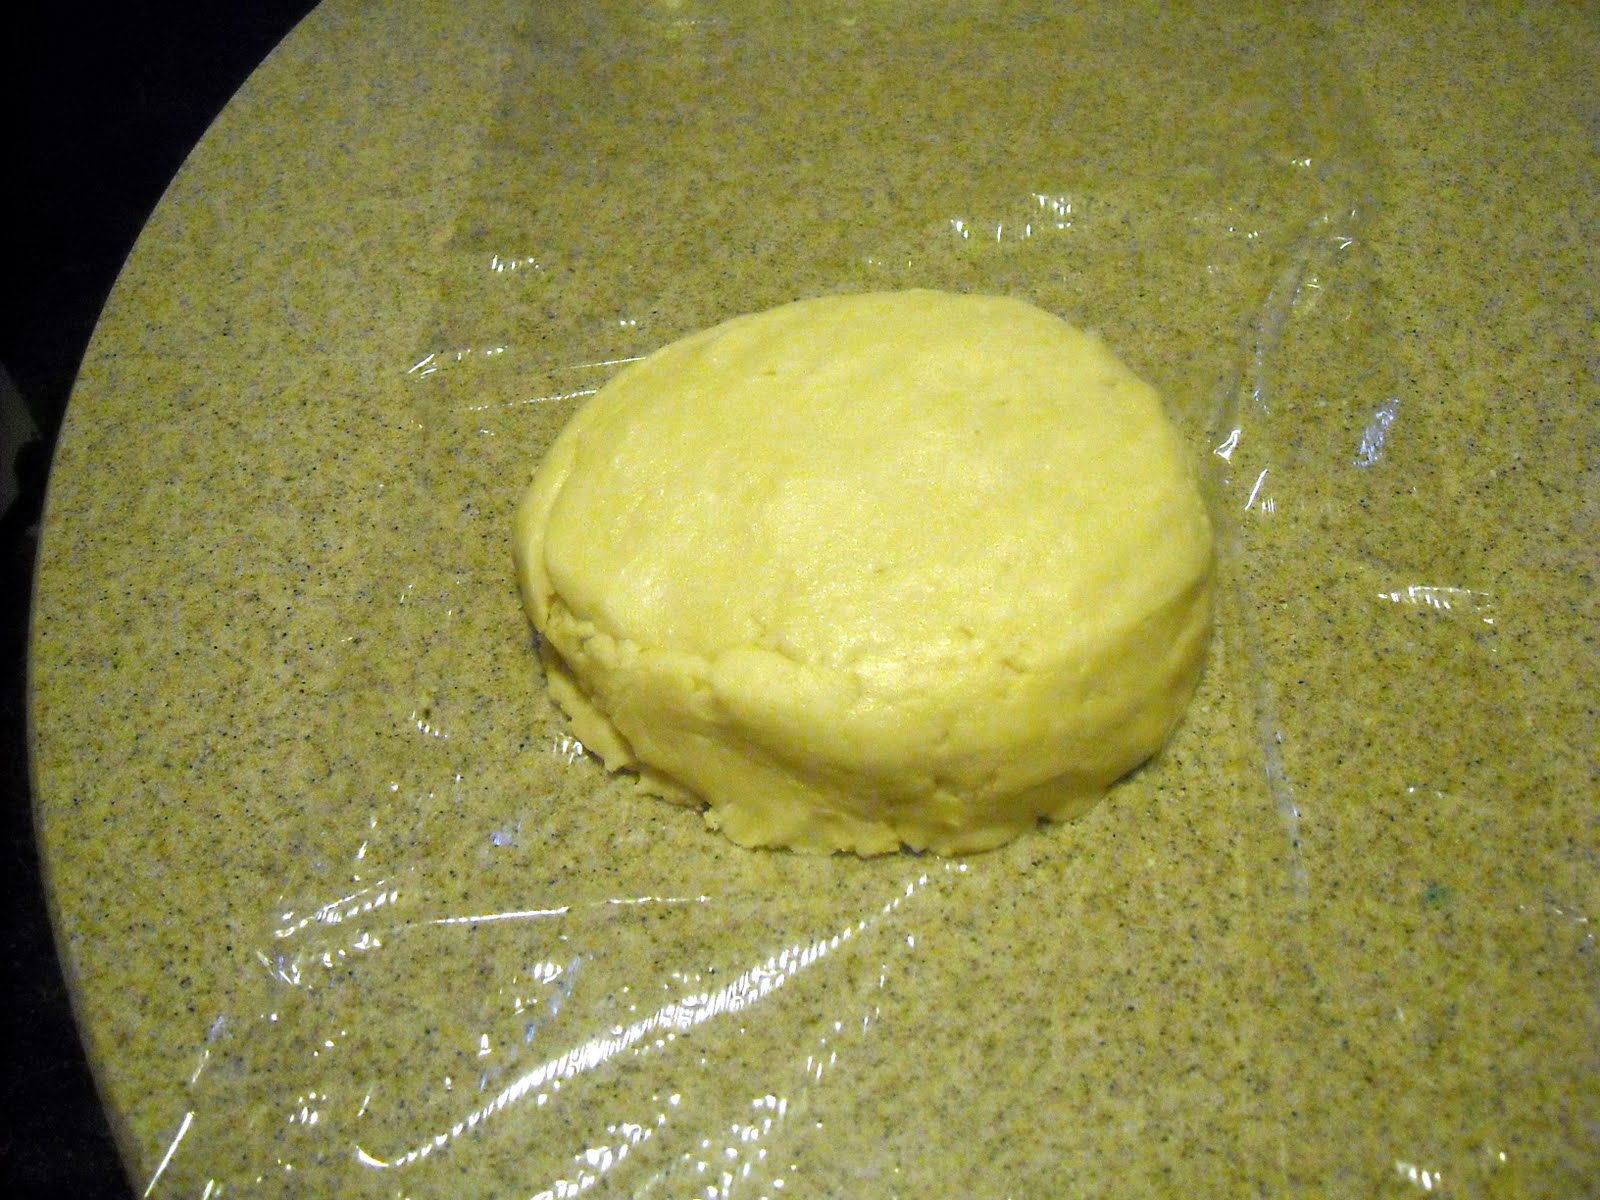
3. Chill the dough in the fridge for at least 15 minutes.
4. Preheat the oven to 350 degrees. Form the dough into 2-inch balls and roll in sugar.
5. Bake for about 14 minutes, or until the edges just begin to set. Allow to cool on the baking sheet for 5 minutes. Transfer cookies to a rack to cool completely.

Adapted from AllRecipes.com

Monday, July 19, 2010

Watermelon Sorbet


We've had a sweltering summer so far, and if you've been sweating as much as I have (attractive, right?) you're in desperate need of something to cool yourself down. Now, you can either grab a sports drink to replace those lost electrolytes, or you can whip up a batch of this lovely Watermelon Sorbet.


It only uses a few ingredients, is incredibly fast and easy to prepare, and comes from David Lebovitz, a man who truly knows his ice creams. I love to make ice cream, but hadn't ever tried one of his recipes. Given how much everyone raves about them, I had a feeling this would be good, and it didn't disappoint. The watermelon flavor is intense and gives the sorbet great color.

It was cool and refreshing, but was almost a bit too sweet for me. I would have liked a little more tartness from the lime juice, so I've increased the amount in the recipe below. You could alternately reduce the amount of sugar added, depending on how sweet your melon is. Definitely try a piece (or 6) first and use your best judgment. I pureed my melon in a blender and then passed it through a fine sieve to ensure it was free of seeds and pulp, measuring as I went.


Texturally, this sorbet was just a tiny bit icy for my taste. When it first came out of the ice cream maker, it was the perfect consistency, but as it hardened in the freezer, more ice crystals developed. Since vodka doesn't freeze, the small amount added to the sorbet is what helps soften the texture. The original recipe called for 1 or 2 Tablespoons, and I only used one, which was silly, since generally speaking, the more vodka, the better! If using alcohol isn't your thing (but wait, what else is there?), be prepared to get a very hard, icy sorbet. You may be better off freezing the mixture in popsicle molds if you have them.

Watermelon Sorbet
Yield: About 1 quart
Ingredients:
3 cups watermelon juice, pureed and strained (from about a 3lb watermelon)
1/2 cup sugar
Big pinch of kosher salt
Freshly squeezed of 1 lime juice
2 Tbsp vodka

Directions:
1. In a small, non-reactive pan over medium heat, combine 1/2 cup of watermelon juice with the sugar and salt, stirring until sugar is dissolved.
2. Remove from the heat and combine with the remaining watermelon juice, lime juice, and vodka.


3. Chill thoroughly and then churn in your ice cream maker according to the manufacturer's instructions.


Recipe adapted from The Perfect Scoop by David Lebovitz

Saturday, July 17, 2010

Shortbread, Take Two


The day I brought these into work, I was a little tired.

I had gotten less than 6 hours of sleep the night before since my roommates SUCK, and when my alarm went off in the morning, it rudely fell onto the wood floor, UNDER MY BED, while still going off, which meant I had to crawl around on the floor still half asleep, listening to the worst sound on Earth, sleep mask askew on my forehead, trying not to DIE or smash my alarm clock into a million pieces. I had coffee when I got to work and busted open a can of Diet Coke by 11 am. (I almost never drink coffee and can usually wait until 11:30 for my first Diet Coke of the day. Yeah, that's right, I said first. Judge me; I dare you.) If I could have hooked myself up to a caffeine IV, I would have.

So clearly, what I really needed, was some sugar. Luckily, I had these little darlings to fortify me.


It's hard to say how this shortbread compared to the Shortbread recipe I made from Indulge since it was one of the first things I made and was months ago. Dan thinks this recipe turned out better, and they were definitely more buttery due to the additional STICK, but I remember liking Clark's shortbread straight from the oven, whereas these? Not so much. They seemed a little bland at first or like the butter was a little overpowering, but I actually thought these were better the next day, when I had one at work. I'm not sure if the flavors just developed a little more, or if I was just withdrawing from my chocolate addiction, which happens like clockwork right around 2 p.m., but I enjoyed this much more than I had the night before.

I also think shortbread is one of those things that's either your favorite or you can take it or leave it. My mother? Loves it, especially dipped in chocolate. Me? Give me a warm, chewy chocolate chip cookie over shortbread any day. 

Chocolate-Dipped Shortbread Cookies
Yield: About 24 cookies


Ingredients:
3/4 pound unsalted butter, at room temperature
1 cup sugar, plus extra for sprinkling
1 tsp vanilla extract
3 1/2 cups all-purpose flour
1/4 tsp kosher salt
6-7 ounces semisweet chocolate, finely chopped

Directions:
1. In the bowl of an electric mixer fitted with a paddle attachment (or with a wooden spoon or spatula), mix together the butter and 1 cup sugar until just combined. Add the vanilla.


In a separate bowl, sift together the flour and salt, and add them to the butter mixture. Mix on low speed until the dough starts to come together. 


Dump onto a surface dusted with flour and shape into a flat disk. Wrap in plastic and chill for 30 minutes.


2. Preheat the oven to 350 degrees.

3. Roll the dough 1/2'' thick and cut into 3 by 1'' fingers, either using a cookie cutter, pastry wheel, or pizza cutter. Place the cookies on a parchment-lined baking sheet and sprinkle with sugar. 


Bake for 20-25 minutes, until the edges begin to brown. Allow to cool to room temperature.

4. When the cookies are cool, put about half the chocolate in a glass bowl and microwave on high for 30 seconds. Stir with a wooden spoon. Continue to heat and stir in 30-second intervals until the chocolate is just melted. Add the remaining chocolate and allow to sit at room temperature, stirring often, until it's completely smooth. Stir vigorously until the chocolate is smooth and slightly cooled.

5. Using a butter knife to spread the chocolate on half of each cookies. Alternatively, hold each cookie by the sides and dip the top half into the chocolate at an angle, allowing the excess to drip off. Set dipped cookies back on the parchment-lined baking sheet and allow to sit in a cool place. If your kitchen is not cool, place in the fridge to harden. Store at room temperature. 


From Ina Garten

Friday, July 9, 2010

Thick and Chewy Chocolate Chip Cookies


Ah, the elusive chocolate chip cookie. Everyone has their favorite recipe they swear is the Absolute Best Ever. I tried a new recipe a while back, but really wasn't wowed by it. Should have known though; it was, after all, created by a Brit. For my whole life, my go-to recipe was the Nestle Toll House one on the back of the chocolate chip bag. They are chewy, chocolatey, a tiny bit salty, and pretty effortless to make. But I'll be the first to admit: they're not perfect. They tend to be a little on the svelte side, which can make them crunchy rather than chewy. Plus, I like my cookies with some meat on 'em.

Sorry, was that too weird? Mixing cookies with meat?

What I mean is that I like my cookies to be nice and thick and dense. I want to be able to eat just one cookie and be satisfied (for the next 30 minutes at least). So when I saw the title of this recipe, and read all the rave reviews on other food blogs, I really wanted to give them a try.

The first time I made them was just for Dan. He was still studying for the Boards and his beloved Monday night softball game had been cancelled. He is a sucker for my Nestle chocolate chip cookies though, and is a staunch advocate that no one makes them as well as I do. He's actually grilled me before as to what my secret is that makes them turn out so well (magic! Also, I've made them about a million times in my life and the recipe's just not that hard...).

I was really hoping this recipe would hold up against my old standard, and I think they turned out pretty well. He seemed happy with them, although he wasn't quite ready to admit that they had taken the first place spot in his stomach. I really liked them. They had all the familiar flavor of a classic chocolate chip cookie and were just what their name describes: thick and chewy, more similar to a bakery cookie than my beloved Toll House. The extra egg yolk adds richness to the dough, and the melted butter in place of softened means you can make these at a moment's notice. Dangerous.

Along with the Mixed Berry Crumb Bars, these were dessert for our 4th of July picnic.


Another great finger food that was also an American classic? Perfect! These were heartily enjoyed by all, and I think they turned out even better than the first time I made them (as so many recipes do). They may just be the new family favorite.

Oh! Pay special attention to the method used in shaping these cookies. It gives them that crinkly top that bakery cookies usually have, and is actually really simple to do. That is if you can follow along with the long instructions and all my pictures. You can use this same technique for just about any and every type of cookie.

Thick and Chewy Chocolate Chip Cookies
Yield: About 12 large cookies

Ingredients:
2 cups plus t Tbsp unbleached all-purpose flour
1/2 tsp baking soda
1/2 tsp kosher salt
12 Tbsp. unsalted butter, melted and cooled until warm
1 cup packed light or dark brown sugar
1/2 cup granulated sugar
1 large egg, plus 1 large egg yolk
2 tsp. vanilla extract
1 1/2 cups semisweet chocolate chips
Directions:
1. Adjust the oven racks to the upper- and lower-middle positions and heat the oven to 325 degrees. Line 2 large baking sheets with parchment paper or a silpats.

2. Whisk the flour, baking soda, and salt together in a medium bowl; set aside.

3. Either by hand or with an electric mixer, mix the butter and sugars until thoroughly blended. Beat in the egg, yolk, and vanilla until combined.


Add the dry ingredients and beat at low speed just until combined. Stir in the chips.


4. Roll a scant 1/4 cup of dough into a ball. Hold the dough ball with the fingertips of both hands and pull into two equal halves. Rotate the halves 90 degrees and, with jagged surfaces facing up, join the halves together at their base, again forming a single ball, being careful not to smooth the dough's uneven surface.


Place the formed dough balls on the prepared baking sheets, jagged surface up, spacing them 2 1/2 inches apart.

5. Bake until the cookies are light golden brown and the outer edges start to harden yet the centers are still soft and puffy, 15-18 minutes, rotating the baking sheets front to back and top to bottom halfway through the baking time. Cool the cookies on the sheets. 


Store in airtight container.

Source: Baking Illustrated

Wednesday, July 7, 2010

Mixed Berry Crumb Bars

One of my favorite things to do for holidays is plan the menu. I brainstorm with my mom and my sister and we come up with menus for the whole weekend. Thanksgiving is probably my favorite holiday because it's ALL ABOUT THE FOOD. And even though it's still months away, I've already started planning the menu for this year. Freshly baked bread? I think so. 

For dessert for our July 4th picnic, I wanted something easy to make, easy to eat, summery, and delicious. These hit all four points beautifully. They didn't require any cutlery to eat, and I made them the night before to be sure they would be nice and sturdy the next evening.


The berry flavor was intense, with just a hint of lemon in the background. The crust and crumble on top was sweet, delicate, and didn't detract from the beautiful ripe berries.

The great thing about these bars is that they're really versatile. We went with mixed berries this weekend because they all looked so good and BONUS: tied in all the colors of the flag! We're sooo patriotic. 


But you could just as easily use all of one type of berry, or a different ratio of two or three berry types, or even berries and stone fruit, cut into small pieces. Whatever calls to you from the produce section or farmer's market, use it!

Mixed Berry Crumb Bars
Yield: About 20 squares

Ingredients:

For the crust and topping:
1 cup granulated sugar
1 tsp. baking powder
3 cups all-purpose flour
1/4 tsp. kosher salt
Zest of 1 lemon
16 Tbsp. cold, unsalted butter, cut into pieces
1 large egg

For the berries:
1 cup fresh raspberries
1 cup fresh blackberries
2 cups fresh blueberries
4 tsp. cornstarch
Juice of 1 lemon

Directions:
1. Preheat the oven to 375 degrees. Grease a 9 x 13'' pan. Set aside.

2. In the bowl of a food processor, combine the 1 cup of sugar, baking powder, and flour, pulsing a few times to combine. Mix in the salt and lemon zest. Add the butter and egg and pulse in 5 second intervals until the largest chunks of butter are pea-sized. The mixture should be crumbly without too much loose flour, but it should hold together when you squeeze it in your hand. 


FYI: It is impossible to take a flattering picture of your own hand

3. Spread about half of the dough mixture in an even layer over the bottom of the prepared pan and press down firmly to form the bottom crust.


4. In a medium bowl, stir together the 1/2 cup of sugar, cornstarch, and lemon juice. Gently mix in the berries with a rubber spatula until combined. 


5. Sprinkle the berry mixture evenly over the crust. Crumble the remaining dough over the top of the berries.


6. Bake for about 45 minutes, or until the top is slightly golden brown. Cool completely before cutting into squares and serving.


Store in an airtight container for 3-4 days, or in the refrigerator for up to a week. 

Recipe adapted from Annie's Eats

Tuesday, July 6, 2010

4th of July Festivites

I hope everyone had a fabulous holiday weekend filled with good food and good weather. I spent the weekend at the beach with my family and boyfriend, soaking up the sun and gorging myself on food and drink.

Although the weekend has passed, I still want to share with you all the delicious food we made to celebrate, as we still have many weeks of summer left, and these recipes will be great all season long. 


We ventured out on our boat the evening of the 4th to enjoy the fireworks from the water, which were spectacular. We packed ourselves a little picnic that consisted of:

Cheese and Crackers
Roasted Shrimp Cocktail
Fruit Skewers
Potato Salad
Fried Chicken
Chocolate Chip Cookies, and 
Mixed Berry Crumb Bars.


To drink, we had wine, mojitos, and mint juleps, made with mint-infused simple syrup, courtesy of Dan. Ladies (and gents), may I point out how important it is to have a man with such good cocktail-making abilities?

Everything was delicious and since most of it was finger food, it worked really well on the boat. We had never tried this fried chicken recipe, but it may have been the best I've ever had. It was spicy and flavorful and not too difficult to make. The potato salad is my go-to recipe and is a major hit every time. The same goes for the shrimp cocktail, that I made for Thanksgiving last year. I've linked to some of the recipes above, but I of course want to give you more detailed recipes for the desserts, so stay tuned for those, coming in the next couple of days!
Related Posts Plugin for WordPress, Blogger...