Wednesday, June 30, 2010

Black Bottom Cupcakes

My second request at work was for cheesecake.

Cheesecake...Hmm. Granted, she was sort of kidding when she asked for it because she knew it would be a hassle to bring in due to the transport and storage problems, and yes, I could probably manage to get it there and keep it in the fridge, but it's a lot easier to bring individual treats that people can just grab on their way in or out of the break room than to have to cut a whole slice. I thought about it for a minute, considered making mini cheesecakes in a mini cupcake pan, and then remembered a recipe I've been wanting to make for a few weeks. So I emailed her back and asked if she would accept cheesecake-filled chocolate cupcakes instead. The reply: a resounding yes. 


Cheesecake is something I came to love slowly. For years, I wouldn't go near it. It was way too cheesy and not the right kind of sweet. I preferred my cream cheese schmeared on a nice fresh (non-toasted!) bagel thankyouverymuch. Thinking back on it, I think everything changed a few years ago when my mom made cheesecake for my stepdad. If he's lucky, she makes it once a year for a special occasion, and that year, she had been talking it up, and I didn't want to slight her by not trying a piece. I figured I would just take a few bites, squash it around on my plate for a while, and leave the mangled mess in an unappetizing heap. So I took the first bite. And then I took another. And another. And then I basically inhaled the whole thing and licked the plate. Don't be so judgey. I couldn't help it; it was SO good. Ever since then I've been more willing to give it a try, usually if someone else orders it or if it's offered as a small petit four. I think my favorite part is still the graham cracker crust, and I really don't like it to be topped with any kind of syrupy fruit, but add a little vanilla bean or maybe a hint of chocolate, and that is just damn near irresistible.  

I get to work at 9 a.m. By 10, almost half of these were gone. I had to hide one in my desk just to save it until after I ate lunch. When I finally took a bite, I was impressed. The chocolate cake had a rich chocolate flavor and was moist, dense, and tender. The whole thing was a bit crumbly, but I take that as a good sign that it clearly wasn't too tough. All that being said, these were a bit...fudgey. The kind of cupcake you really need a glass of milk to wash down.


Flavorwise, chocolate definitely played the part of the cocky lead singer who gets all the girls, while the cheesecake center was more like the quiet and mysterious emo bass player who mumbles something deceptively deep every once in a while. I think I was hoping for a more pronounced cheesecake flavor, but for what they were, I'm rating them a success.

Black-Bottom Cupcakes
Yield: 12 Cupcakes

For the Filling:
8 oz cream cheese, at room temperature
1/3 cup granulated sugar
1 large egg, at room temperature
2 oz bittersweet chocolate, coarsely chopped

For the cupcakes:
1 1/2 cups all-purpose flour
1 cup firmly packed light brown sugar
5 T unsweetened cocoa powder
1 t baking soda
1/4 t kosher salt
1 cup water
1/3 cup vegetable oil
1 t vanilla extract

Make the Filling: Beat together all the ingredients for the filling except for the chocolate, and beat until smooth. Stir in the chopped chocolate. Set aside.

Make the cupcakes:
1. Adjust a rack to the middle of the oven and preheat the oven to 350 degrees. Butter a 12-cup muffin tin, or line with paper muffin cups.

2. In a medium bowl, sift together the flour, brown sugar, cocoa powder, baking soda, and salt. In a separate bowl mix together the water, oil, and vanilla.


3. Make a well in the center of the dry ingredients and stir in the wet ingredients, stirring just until smooth. Stir any longer and you will over mix the batter and end up with less-than-tender cupcakes.


4. Divide the batter among the muffin cups. Spoon a few tablespoons of the filling into the center of each cupcake, dividing the filling evenly (I used a cookie scoop, one that has a handle-triggered release). This will fill the cups almost completely, which is fine.


5. Bake for 25 minutes, or until the tops are slightly golden brown and the cupcakes feel springy when gently pressed.


These moist treats will keep unrefrigerated for 2 to 3 days if stored in an airtight container.

Adapted from The Great Book of Chocolate by David Lebovitz

Given that it's the end of June, you may be thinking to yourself, "Hey didn't she say something a few posts ago about participating in some Daring cooking something or other? Whatever happened to that?" Or maybe you've completely forgotten about it in which case I've just pointed out my complete lack of follow-through when I totally could have gotten away with it.

What can I say? I'm a rebel. Just ask my mom. And if she hems and haws, remind her about the tattoos...

I just couldn't bring myself to make what was chosen this month. It was something very similar to this and I think we all remember how (badly) that turned out. *Shudder* The one promising thing about the challenge recipe was that it was made with lots of chocolate (yay!), but alas, still a meringue (booo!). Frankly, I don't think I'll be baking any more meringue until I'm faced with it in class. Public humiliation that will also be judged by a professional and my (if there anything like me) perfectionist peers?! Can't wait! 

Next Indulgence: Ina's Outrageous Brownies

Monday, June 28, 2010

Soft Pretzels

I'm still in a bit of a mood after having to redesign my blog and having so many problems doing so, but I think I've finally gotten it the way I want it, and now I'm just working on some minor formatting issues that will hopefully be resolved by the time I publish this post. Unfortunately, my camera was still channeling Picasso when I took these pictures, so it was still in its Yellow Period. I think I've finally fixed it though, so stay tuned for less jaundiced pictures, hopefully coming soon.

I know I've turned my focus to desserts, but I kept coming across these soft pretzel recipes on a lot of the food blogs I read. Technically, pretzels aren't dessert (unless you dip them in chocolate frosting or sprinkle them with cinnamon and sugar. Yum!), but they still require baking, so I'm making an exception. I've been lusting over pictures of homemade bread and bagels, and especially homemade pizza dough, on a lot of other food blogs, but I'm missing a few key components that make all of those recipes possible: a dough hook for my mixer and a baking stone.  So although I would love to experiment with all kinds of dough, I decided for my first baking attempt with yeast dough, soft pretzels sounded quick, easy, and most importantly, delicious.


Unfortunately, my pretzels came out with a bit of an inferiority complex. I tried to tell them size doesn't matter, but there was only so much I could do; clearly they are much smaller than your average soft pretzel, but who doesn't love mini food?! They're like little baby pretzels. Plus, you can totally get away with eating two of them at a time and not feel guilty about it, right? Right??

I think the size problem likely has more to do with the yeast I used and less to do with the recipe itself. Although I checked the expiration date on the yeast and it was still months away, it had been hanging around the kitchen for a while and may have just been too old to really be active. It did smell yeasty and seemed to bubble after letting it sit with the warm water and sugar, but after looking at some pictures on other blogs of what active yeast should look like at this stage, I think mine was probably a bit too elderly. I guess I'll have to make this recipe again with yeast I know is fresh, for research purposes, of course. And while I'm at it, I might as well experiment with more toppings and flavorings, too. Cinnamon Sugar? Garlic? Parmesan cheese? Nom, nom, nom.

Size aside, these pretzels had the perfect flavor, exactly what you would expect from any soft pretzel. They were doughy, a little sweet, but also nice and salty. The outside had a prefect soft crust, and the inside dough was even softer, tender, just a little chewy, and completely satisfying. I dipped mine in some yellow mustard which made it even more delicious. I loved the salty crunch of the coarse kosher salt, and probably would have added even more than I did since I like my pretzels extra salty. The bottoms burned slightly, but I think that may have been a defect of the pan or my oven, or maybe because I used parchment paper as opposed to a silpat. The pretzels themselves didn't taste overdone, and even the browned bottoms hardly made a difference in taste, so I don't think it had anything to do with the baking time. This is a great basic starter recipe for easy and quick soft pretzels.

Soft Pretzels
Yield: 6 Pretzels
Source: www.sugarlaws.com

Ingredients
1 tsp active dry yeast
Pinch of sugar
1/3 cup warm water
1 1/4 cups all-purpose flour
2 tbsp white sugar
1/2 tsp salt
1 tbsp canola oil
3 tbsp baking soda
1 cup hot water (as hot as your tap can get)
Kosher salt

Directions
1. Dissolve yeast into water with a pinch of sugar, let stand 10 minutes, until the mixture is creamy colored. 
2. Mix the yeast mixture with flour, sugar, salt and canola oil, and knead until combined (a few minutes, not even 5).


3. Let the dough rise in a greased bowl until doubled in size, about 1 hour.

 Hmm, looks much the same...
4. Preheat the oven to 425 degrees. When the dough has risen, pinch off a handful and roll it out into a long strand. Set aside. Repeat with the rest of the dough, about 6 times.

5. Once all the strands are rolled out, pick up the first one and stretch it out again (the gluten will have relaxed and it should stretch further now). Twist it into a pretzel shape and place it on a baking sheet lined with silipat or cooking spray. Repeat with the rest of the strands.

6. Dissolve baking soda into hot water and stir until dissolved. Quickly dip each rolled pretzel into the mixture and place it back on the baking sheet. Sprinkle all the pretzels with kosher salt, to your preference. 
7. Bake for about 8 minutes, until pretzels have browned.

Best eaten the day they're made.

Next Indulgence: Black-Bottom Cupcakes

Thursday, June 24, 2010

Oatmeal, Peanut Butter, Chocolate Chip Cookies

**Disclaimer: I'll be making some changes around here over the next few days (as you can probably already tell) so if things look a tad...heinous altered, don't worry, I'm working on it! If you have any suggestions or comments about the layout, leave me a comment and let me know!***

When I announced at work that I was fleeing the corporate world to frolic in the great stainless steel kitchens of New York, I suddenly felt like a veil had been lifted. I had of course brought in baked goods to work before, but they were cloaked with the disguise of a hobby, something I just did on the side for fun as opposed to the thing that puts me to bed every night. Because really, if I could, I would bake every single day. Which is exactly the sentiment that leaves me mainlining chocolate chips right out of the bag at 11:00 at night. 

Anyway, when I announced my resignation, I also submitted an invitation for requests; in the last few weeks I was at work, I wanted to bake a few things that people really wanted. One of my co-workers started the trend a few months back by requesting White Chocolate Macadamia Nut cookies, which I happily supplied. And now that I didn't have to be so shy about my love for all things sugary and sweet, I happily entertained another handful of requests. This was my first. It's for my cubicle neighbor, the one who's not a big fan of sweets...

I know. I'm not quite sure what's wrong with her either. She's the type of person who would rather cash in her calories on something salty, namely, potato chips. Me? I'd rather stuff an entire cupcake into my mouth than a handful of potato chips, but often my cravings do fluctuate between salty and sweet (but always end on the sweet side), hence the ultimate pairing created by my sister: plain potato chips dipped in yogurt, preferably berry-flavored. Sounds gross to just about everyone else, but it's so so good. I'm already planning to turn this into a plated dessert I could serve at a restaurant. I'm committed to showing other people just how good this is. YOU WILL TRY IT AND YOU WILL LIKE IT.

Given my neighbor's lack of a sweet tooth, I was surprised when she submitted the first request. She wanted a cookie, made with just oatmeal or oatmeal and chocolate chips, just not raisins. As my mind began to flip through my recipes, I remembered one that looked great, the ultimate trifecta of awesome. And just at that moment, she said the magic words: peanut butter. Oatmeal, Peanut Butter, Chocolate Chip cookies. It was meant to be.

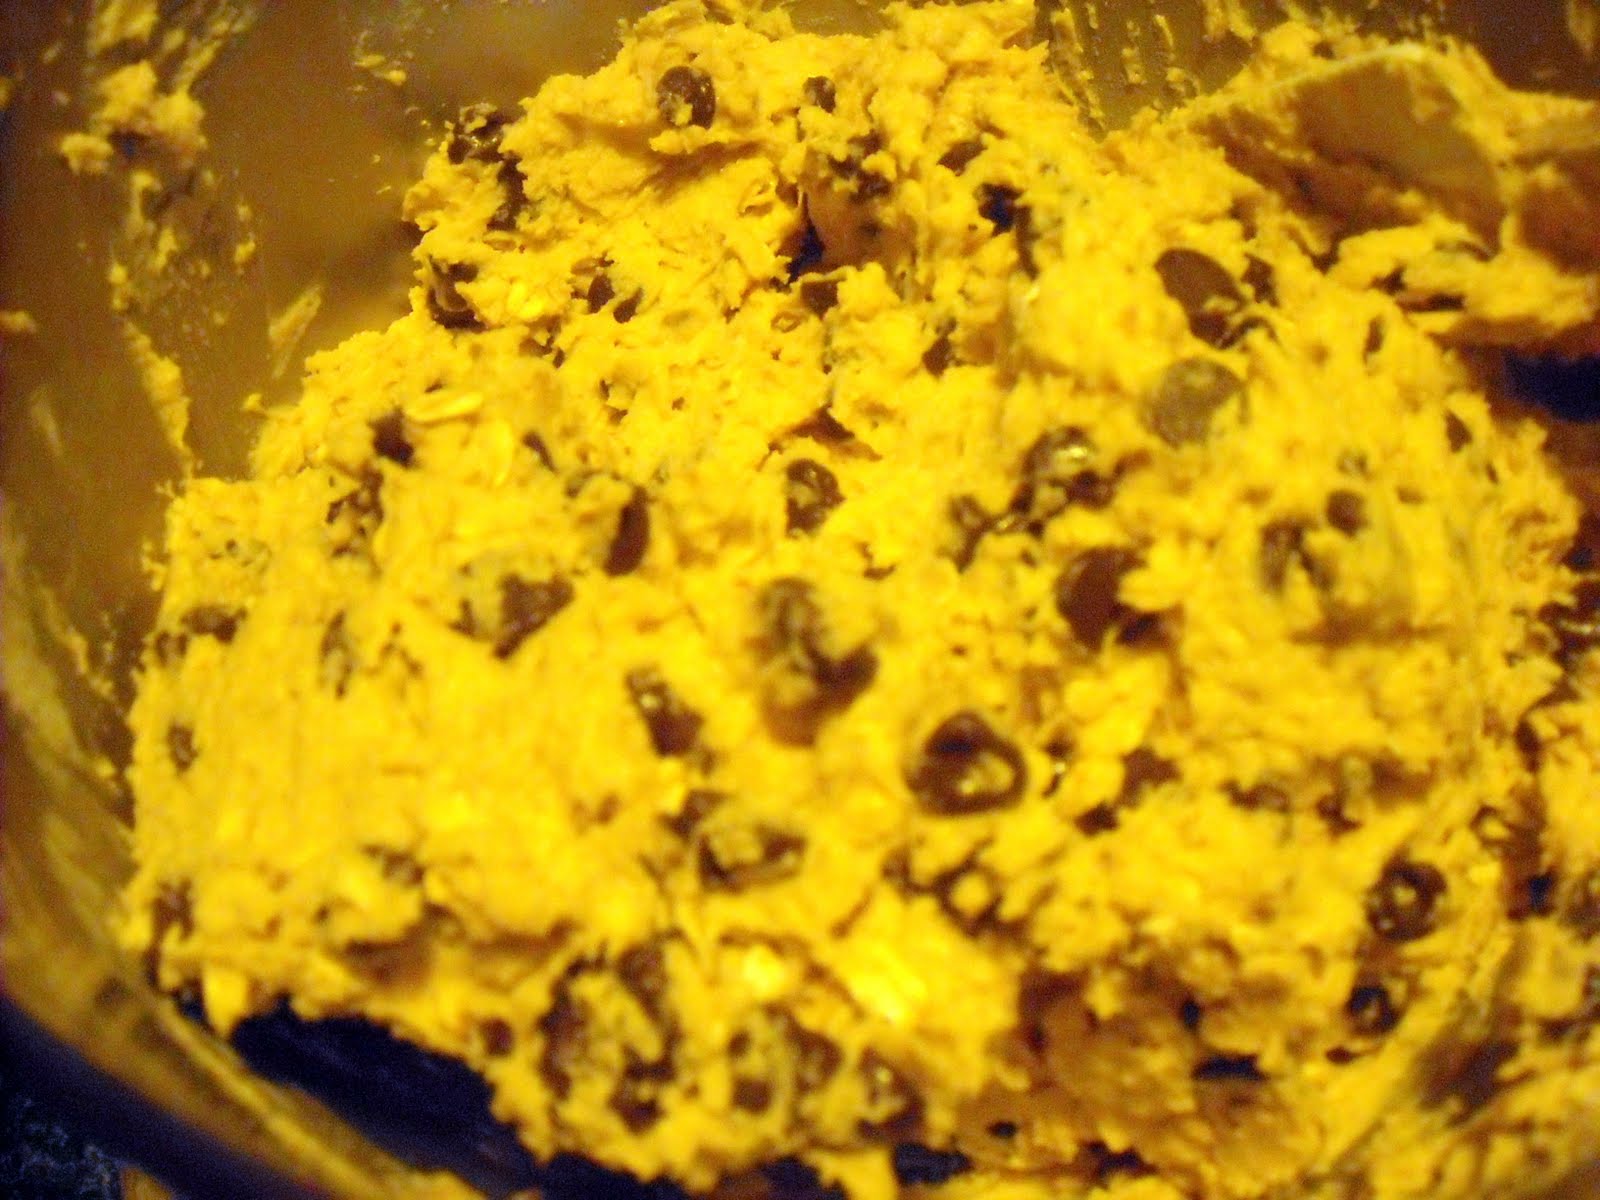
For some reason, my camera is turning everything yellow. I am not amused. It probably doesn't help that my kitchen is a black hole completely devoid of natural light and that I do most of my baking and photographing in the evening. Still, I think I'll blame the camera.

But when I first saw this recipe, I was hesitant. It originally showed up on the back of a flour bag (The only recipe I've used from a name brand product is the Toll House Chocolate Chip cookie recipe, which has been my go to forever, and I truly believe it's one of the best), and I was worried it would be too unfocused; not enough oatmeal to feel like an oatmeal cookie, not enough peanut butter to be a peanut butter cookie, but everything melding together to just be another chocolate chip cookie. Fine in and of itself, but not what I was looking for. I wanted something that when you bit into it, you felt like you were eating a chocolate chip cookie sandwiched between an oatmeal cookie on one side and a peanut butter cookie on the other. And wow, I think I gained 3 pounds just thinking about that one.

With some slight alterations to the recipe, with this one cookie, that was exactly what I got (the flavor part, not the 3 pounds. Not yet anyway). The flavors and textures unfold in your mouth one by one and all at once. The sweet chocolate, the soft chewy texture from the oats, with just a hint of the familiar flavor of peanut butter. No one element overwhelmed the other, and they all complimented each other well, so all your cookie cravings are satisfied.

These looked way cuter in person. Some cookies just aren't that photogenic. 
At least that's what we told them.

You want to be really careful not to overbake these. You want them to be soft and chewy to retain the spirit of an oatmeal cookie. If they get too crunchy, you'll lose the texture and flavor of the oats and be left with a downtrodden chocolate chip cookie that tastes like it spent a scandalous evening with the slutty peanut butter and is now hanging its head doing the walk of shame in last night's party dress.

Oatmeal, Peanut Butter, Chocolate Chip Cookies
Yield: 24 large cookies

Ingredients:
2 cups all purpose flour
2 teaspoons baking soda
1/2 teaspoon kosher salt
2 sticks (1 cup) unsalted butter at room temperature
1 cup creamy peanut butter
1 cup granulated sugar
2/3 cup light brown sugar
1 teaspoon vanilla extract
2 eggs
2 cups rolled oats
2 cups semisweet chocolate chips

Directions:
1. Preheat the oven to 350 degrees. Line two baking sheets with parchment paper and set aside.
2. Whisk together the flour, baking soda, and salt. Set aside.
3. On medium speed, cream together the butter, peanut butter, both sugars, and vanilla, about 3 minutes. Add the eggs one at a time and beat to combine. 


On low speed, gradually add the flour mixture until just barely combined. Stir in the oats and chocolate chips.


4. Shape the dough into 2 oz balls (about 1/4 cup) and drop them onto the prepared baking sheets, about 2 inches apart. 


Bake for 19 minutes, or until the cookies are lightly golden and the edges have started to set. Let cool completely on the baking sheets and then store in an airtight container.

To put it in perspective, that plate is actually white. Not whatever color that is. Old faded newspaper?


Next Indulgence: Soft Pretzels
Related Posts Plugin for WordPress, Blogger...