For some reason this weekend, I was in the mood to bake. Maybe it's because since school ended, I'm only work two days a week and that urge to cook and bake just isn't being satisfied like it was when I was in the kitchen 7 hours a day, 5 days a week. Maybe it's because I had baked brownies the day before with my cousin, and they just hadn't turned out quite like I would have liked. Whatever it was, I turned to my roommate Shaun and said, "What do you want?"
He quickly directed me to
foodgawker.com (think porn for foodies) and gasped at the sight of what appeared to be chocolate chip cupcakes. Frankly, I've never really gotten into sites like foodgawker. I prefer trusted blogs that I've followed for months and months, where I'm familiar with the person who is testing the recipe. But, as luck would have it, when I followed the link for the picture, it led me to a blog, which actually linked to the recipe on a blog I DO follow,
Annie's Eats. Oh the blogosphere, so big, and yet so small.
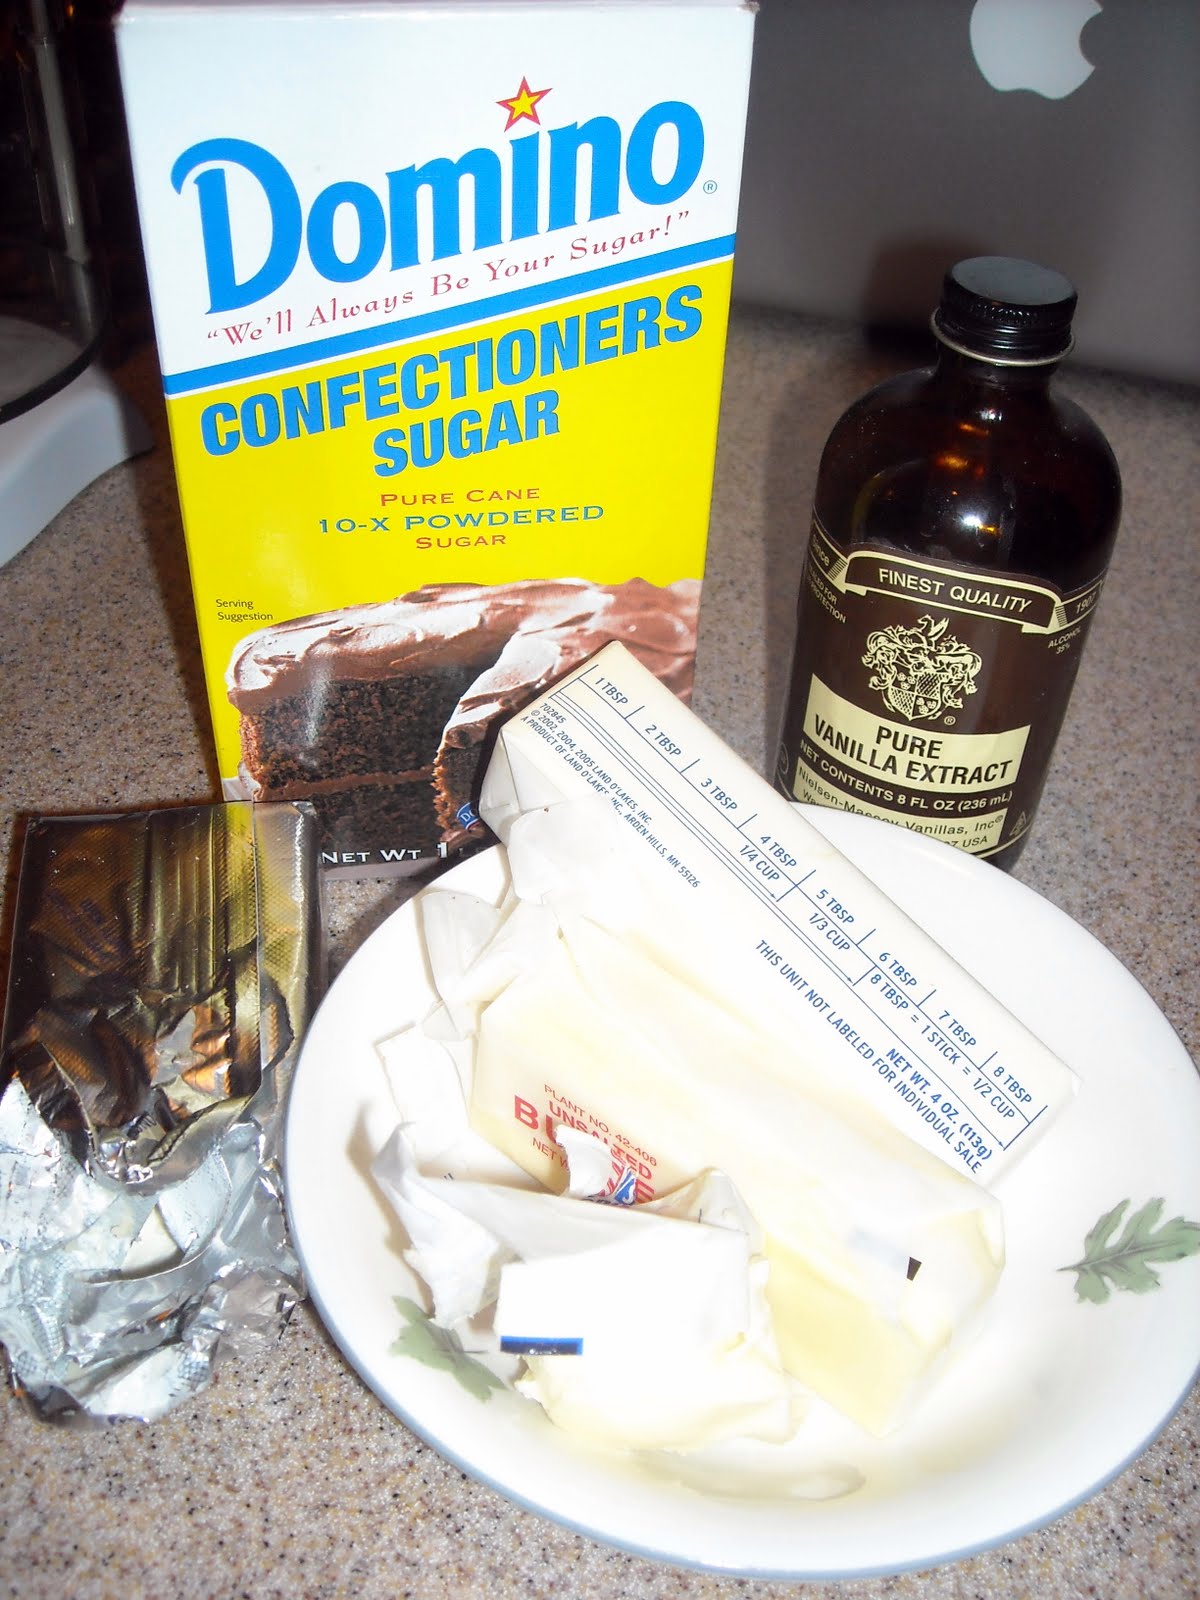
I reviewed the recipe and decided it looked pretty promising and I only needed 6 items from the store (well, four really since I actually had enough vanilla extract and powdered sugar, but I didn't know that at the time). Bonus! So I made my shopping list and called it a night.
The next morning I got up, made a quick trip to the small market just across the street, and Shaun queued up
Sex and the City. There are three elements that go into making these cupcakes, which may sound daunting and time consuming, but from start to finish, the whole process only took about 2 hours.
First up was making the batter and baking the cupcakes. Here's the recipe (which I halved) for just the cake portion, adapted from
Annie's Eats:
Ingredients
Yield: 24 cupcakes
3 sticks unsalted butter, at room temperature (or softened in the microwave for just 15 seconds)
1 1/2 cups light brown sugar, packed
4 eggs
2 2/3 cups all-purpose flour
1 tsp baking powder
1 tsp baking soda
1/4 tsp salt
1 cup whole milk
2 tsp vanilla extract
1 1/2 cups semisweet chocolate chips
Procedure
1. Preheat oven to 350 degrees. Line cupcake pans with liners (24 total).
2. In the bowl of an electric mixer fitted with the paddle attachment, cream the butter and brown sugar. Beat together on medium-high speed until light and fluffy.
3. Add the eggs, one at a time, incorporating each completely before adding the next, and scraping down the bowls as needed.
4. In a separate bowl, combine the flour, baking powder, baking soda, and salt.
5. With the mixer on low, alternated the dry and wet ingredients, beginning with a third of the dry ingredients, followed by half the milk, mixing until almost completely incorporated. Add half of the remaining dry ingredients and the rest of the milk. Finish with the remaining 1/3 of the dry ingredients, but stop the mixer before completely incorporated.
6. Fold in the chocolate chips by hand, finishing the incorporation of the dry ingredients.
7. Divide the batter evenly between the prepared muffin cups. It will fill the cups almost completely. Place in preheated oven and bake 20-21 minutes, until the cake springs back to the touch and a toothpick inserted in the center comes out clean. Allow to cool in the pan 5-10 minutes, and then transfer to a rack to cool completely.
Tasting just the batter (think of it as research for my craft), I was satisfied with the chocolate chip cookie flavor. Over the years, I've found that the key to a good chocolate chip cookie is brown sugar. And butter. So the use of solely brown sugar instead of granulated in this recipe was a good sign. The batter tasted very similarly to chocolate chip cookie dough, but a little thinner of course, and not quite as molasses-y (which is the "brown" in brown sugar).
Upon filling my cupcake tin, I was a little concerned that the cups were too full. I was halving the recipe, but I felt like I had enough batter for 18 cupcakes instead of 12. I thought about throwing away what seemed to be excess or baking 12 and then baking 6 more, but instead I decided to trust the recipe and just filled the cups almost to the top. I figured it was better to have conehead cupcakes than sad little flat ones. And I was glad I followed the recipe. They all came out the perfect size and shape.
Halfway through baking
As the cupcakes baked and cooled, I worked on the cookie dough filling. Here's that recipe:
Ingredients
4 Tbsp unsalted butter, at room temperature
6 Tbsp light brown sugar, packed
1 cup plus 2 Tbsp all-purpose flour
1/2 tsp salt
7 oz sweetened condensed milk
1/2 tsp vanilla extract
1/4 cup mini semisweet chocolate chips
Procedure
1. Cream together the butter and sugar on medium-high speed until light and fluffy.
2. Add the flour and salt, and mix on low until partially incorporated.
3. Add sweetened condensed milk and vanilla extract. Mix until almost completely incorporated.
4. Fold in chocolate chips by hand, incorporating all remaining ingredients. The dough will be dense, so this may be easiest to do by hand.
5. Wrap dough well and chill until firm, about 1 hour.
I have to confess, although I halved the batter and frosting, I made the full amount of cookie dough filling. Since there are no eggs in the recipe, it's safe to eat without cooking, and who doesn't want salmonella-free cookie dough just hanging out in their fridge? I also added a good pinch of salt to the recipe, which wasn't originally included because I think chocolate chip cookies desperately need a little nugget of salt in each one. Please, I beg of you, don't forget the salt. But when I tasted the filling before putting it in the fridge, I was a little disappointed. It was too sweet and the flavor of the condensed milk was too strong. There was a subtle chocolate chip cookie dough flavor, and the texture was right, but I wasn't wowed.
The last thing to make was the icing. In the original picture of these on foodgawker, the cupcakes were topped with chocolate icing. At first this seemed like a good idea, but Shaun and I agreed that the original icing for this recipe sounded better. Plus, it included flour as one of the ingredients which was intriguing. Only in one other frosting recipe have I seen flour listed, and that was in a roux-based frosting, another anomaly I had never heard of. But since a roux is basically just a thickening agent, I could imagine it working in a frosting recipe where a lot of sugar is added and the roux is beaten until light and fluffy. In this recipe however, the flour is simply added raw, and I was a little concerned it would impart that raw flour flavor that isn't exactly pleasant. Here's the recipe. I'll leave you hanging about the results (for now).
Ingredients
3 sticks unsalted butter at room temperature
3/4 cup light brown sugar, packed
3 1/2 cups confectioner's sugar
1 cup all-purpose flour
3/4 tsp salt
3 Tbsp milk
2 1/2 tsp vanilla extract
Procedure
1. In the bowl of an electric mixer fitted with the paddle attachment, beat the butter on medium-high speed until nice and fluffy (3 minutes). Add the brown sugar and continue to beat for another minute.
2. Mix in the confectioner's sugar until smooth.
3. Beat in the flour and salt.
4. Slowly add the milk and vanilla extract.
5. Continue to beat on medium-high speed until very light and fluffy (5 minutes or more).
Again, you'll notice the inclusion of brown sugar in the frosting in addition to the confectioner's sugar. I can't stress this enough, but the brown sugar flavor is
essential to getting that chocolate chip cookie taste. Tasting the frosting on its own, I had a similar impression as I did with the filling: close, but not exactly cookie dough. But thankfully, the flour was nicely camouflaged.
By now, the cupcakes were cool so I needed to hollow them out to make room for the filling. I did this using a #5 star tip, hollowing them out from the top. But I found that if I pushed the star tip in too far, the whole cupcake would start to split, so it was butter to push it in a little and sort of slowly dig out a valley for the filling to go into. Be sure to save the cupcake scraps to munch on! And there's no need to worry about the hole in the top of the cupcake since it will just be covered up with the frosting.


Once all the cupcakes were hollowed out, it was time to re-fill them! I got the filling from the fridge which had firmed up slightly but was still nice and workable. I tried another little sample and was pleasantly surprised that it tasted much more authentic after chilling for an hour. Perhaps it gave all the flavors an opportunity to meld a little bit more. I pinched off a portion of the filling, molded it slightly with my fingers, and pushed it into the channel in the cupcakes, making sure to fill each one up to the very top. I packed in the filling pretty tightly with no real fear it would burst through the bottom of the cupcake since the liner was there for added structure, and they all held up perfectly well.
Using a #7 star tip, I topped off each cupcake with the frosting (of which I had just enough!) and then sprinkled on more mini chocolate chips. And voila!
After a photo shoot with Shaun's spiffy camera and homemade light box, it was time for the taste test.
Shaun tasted first and declared them delicious. I asked if they tasted like chocolate chip cookie dough, and with his mouth full, he confirmed that they did.
Next, it was my turn. For me, the dough filling was a little overkill, but that is what really makes these chocolate chip cookie
dough cupcakes. I actually preferred just the icing (which upon tasting a second time, I actually really enjoyed) and cake, which together tasted
just like a chocolate chip cookie, thanks mostly to the icing, not to be confused with a chocolate chip cupcake which is just a vanilla cupcake with chocolate chips inside. Very confusing and technical, I know. But after tasting the cake with the frosting, I was really happy I hadn't substituted with chocolate frosting instead since this frosting really has the flavor of chocolate chip cookies. I would suggest, if you like the idea of a chocolate chip cookie cupcake but don't want to go through all the steps, just make the cupcakes and frosting and call it a day. You'll be more than satisfied.
Now I just have to figure out what I'm going to do with all that leftover sweetened condensed milk. Any ideas?


