Showing posts with label holiday. Show all posts

Tuesday, November 29, 2011

The Jefferson Gingerbread House 2011

Last night we unveiled the giant Gingerbread House my co-workers and I have been working on for the past month!


Isn't it cute! Ok, so I'm a little biased since I put my blood, sweat, tears, and hours of work into it. Hey, you try unwrapping 300 starbursts without jabbing yourself under the fingernail with those sharp little paper corners.

It was actually a really fun project to work on. It's located in the lobby of the Jefferson Hotel here in Richmond and is huge as far as gingerbread houses go. It's plenty big enough to fit 3 or 4 people inside, standing up (if you're a little on the shorter side)! Here are some in-progress shots.

Just starting to put the roof shingles on

The finished roof, chimney, and walls. We attached all the bricks one by one 
and mortared in between all of them with royal icing.

Starting to put the candy and fondant decorations on

Almost finished!

I love the roof!

Ready for showing!

The front door

A peak inside at the Christmas tree, presents, and gingerbread-tiled walls 
(as one of the shortest people working on the house, I spent a lot of time in there)


The "working" fireplace

See, told you it works

Santa!

The pastry staff inside our creation!

At the unveiling

To answer some of the most common questions we were asked last night at the Christmas tree lighting and house unveiling-
Yes, everything on the house is edible except the wooden structure underneath.
It took about a month to complete and 350 hours of labor.
Everything is attached with royal icing. No glue was used.
When we're finished displaying it, the whole things gets demolished. No, no one eats it and we don't save it for next year.
The bathrooms are through the doorway and to the right.

We were already thinking up ideas for next year! It will be on display through the whole month of December, and the whole hotel is decorated beautifully for the holidays. Come see it if you get a chance!

Saturday, November 26, 2011

Thanksgiving 2011 Round Up

Thanksgiving this year was a whirlwind. With only two days off work and 360 miles to drive round-trip, there was very little sleep to be had. But there was plenty of food! And since I'm still working on not enough sleep, I'm going to let my pictures (and video!) speak for themselves.

Yeah, we fry our turkey. In the driveway.

With cocktails

(I recorded a video of the turkey being lowered into the fryer but it's not uploading! Hopefully I'll get it up and running soon. Any tips?)

Oh, and we roast a turkey too. And bathe it in butter.

The result of the men's copious drinking hard work. It sort of looks like they're having a nice chat over a glass of chardonnay.

Yes, that's three turkeys. I think the final calculation was 47 pounds of meat. For 12 people. It was  just a tad excessive. But why stop at one turkey when you have enough oil for two?

Dan was elected to carve since he was the most sober of the menfolk and all the ladies were busy with the rest of the meal.


Besides, he's going to be a surgeon; he has to hone his craft somehow.


Recipes coming soon!

Monday, October 10, 2011

Yom Kippur

This past weekend I traveled to Virginia Beach for the day to "celebrate" Yom Kippur with my mom.

I use the term "celebrate" loosely because Yom Kippur consists of fasting for 24 hours. Sounds fun, right? Believe me, it is. No eating, no drinking, no working, and lots of quality family time.

But just when you're blind from hunger, delirious from thirst, and about to murder your entire family just because they dare to ask you some completely innocent question, Break Fast arrives.

Just as the name suggests, the Break Fast traditionally consists of breakfast items, on the lighter side so as not to cause your stomach to explode when you can finally gorge yourself again. This year, my mom decided to host Break Fast at her house. Here's what was on the menu:

Bagels with 3 different types of cream cheese
Salmon three ways: Smoked, Baked, and Pastrami
Cheese Quiche
Spinach Quiche
Challah Bread
Cheese and Crackers
Noodle Kugel
Fruit Salad
Tuna Salad
Croissant Bread Pudding
Sour Cream Coffee Cake
Rugelach

Recipes coming soon!

Friday, July 22, 2011

July 4th Festivities

Happy July 4th!

What's that you say? I'm about 3 weeks too late?

Dammit. What can I do to make it up to you?

What about the secret to the most AMAZING fried chicken you've ever had? (Yeah, stay tuned for that one).

Or, I know, how about a piece of cake?

No, not enough?

Ok, how about a whole cake?

Still no, huh.

Well, how about a cake with a surprise inside. Want to see it?

Hi, I'm a flag cake!

Ok, who saw that one coming? I know, the Flag Cake sort of blew up the blog world this year, and I wasn't immune from the fever.

I originally emailed this idea to my mother as a joke. But the more I thought about it, the more I decided it was really do-able. And would be fun and festive.

Unfortunately, I wasn't really planning on blogging about it, so I didn't take any in-process shots, but I basically followed these instructions and used a homemade white cake and homemade vanilla buttercream.


It was quite a showstopper. And pretty delicious too.

Here are the basic instructions (although without pictures, I think it's hard to follow so definitely click the link above if you want a more comprehensive tutorial). Warning: lots of words with no pictures ahead. If you get bored, feel free to scroll on down to get a peek at what that secret ingredient I mentioned earlier is.

You're going to bake four 8-9'' cakes: 2 red, 1 blue, and 1 white. Note, you're going to need an obscene amount of food coloring to get your colors really bright and vibrant. Don't think, just do.

Cut the red and white cakes in half horizontally just like you would if you were making a 2-layer cake.

Start layering. Place a round of red cake on the bottom of a cake board or your cake stand. Fill with vanilla icing. Top with a layer of white cake. Fill with vanilla icing. Top with a second layer of red cake and fill with vanilla icing.

Now it's time for the blue cake. Use a small, 4'' circle template and cut out the center of the cake so you're left with a doughnut of blue cake. You can discard the center. Or eat it. Whichever.

Place the blue doughnut of cake on top of your last frosted red layer. Place a very thin layer of icing on the interior of the circular cutout of the blue cake.

Using the same circle template you used for the blue cake, cut out 1 circle of cake from the remaining white layer and one from the remaining red layer. You want to keep the small circles and discard the "doughnuts" or scraps. You will also have one layer of red cake leftover. You know, to freeze and save for later. Or snack on as an appetizer before dinner. Whatever. I don't judge.

So, you have two thin, small circles of cake, one red and one white. Now would be a good time to sort of test your layers. You'll be stacking them inside the blue cake and you want the top of your cake to be flat, so if your red and white layers are a little thick, now is a good time to trim them down.

Place the white layer inside your blue doughnut. Add a thin layer of icing. Top with the red layer. Press lightly to flatten if you need to. Now frost the whole cake with more icing. If you really want to keep the element of surprise, try not to get any crumbs in your white icing. To achieve this, do a thin crumb coat of icing first and put the whole cake in the freezer for a few minutes so the icing hardens. Feel free to get as many crumbs in this coat as you want. The crummier the better!

Once your crumb coat has hardened, ice the cake with a good even layer. Decorate as you wish! I kept mine pretty simple since the inside is really the fancy part.

Plus, I kind of hate decorating cakes.  

I know, I'm such a delinquent pastry chef. How can I make it up to you?

How about the secret to awesome fried chicken? Here it is:

Like I said, stay tuned.

Tuesday, July 6, 2010

4th of July Festivites

I hope everyone had a fabulous holiday weekend filled with good food and good weather. I spent the weekend at the beach with my family and boyfriend, soaking up the sun and gorging myself on food and drink.

Although the weekend has passed, I still want to share with you all the delicious food we made to celebrate, as we still have many weeks of summer left, and these recipes will be great all season long. 


We ventured out on our boat the evening of the 4th to enjoy the fireworks from the water, which were spectacular. We packed ourselves a little picnic that consisted of:

Cheese and Crackers
Roasted Shrimp Cocktail
Fruit Skewers
Potato Salad
Fried Chicken
Chocolate Chip Cookies, and 
Mixed Berry Crumb Bars.


To drink, we had wine, mojitos, and mint juleps, made with mint-infused simple syrup, courtesy of Dan. Ladies (and gents), may I point out how important it is to have a man with such good cocktail-making abilities?

Everything was delicious and since most of it was finger food, it worked really well on the boat. We had never tried this fried chicken recipe, but it may have been the best I've ever had. It was spicy and flavorful and not too difficult to make. The potato salad is my go-to recipe and is a major hit every time. The same goes for the shrimp cocktail, that I made for Thanksgiving last year. I've linked to some of the recipes above, but I of course want to give you more detailed recipes for the desserts, so stay tuned for those, coming in the next couple of days!

Tuesday, December 1, 2009

Thanksgiving- A Family Affair

I know Parmesan-Roasted Broccoli is scheduled to be this next post, but in honor of the Thanksgiving holiday, I'm skipping ahead a bit and posting about the dishes I made for and with my fam. Also, in honor of the ultimate family holiday and my personal favorite, there were a few more blondes in the kitchen with me helping to make this one of our tastiest Thanksgivings yet.

I'll resist detailing our whole menu since drool and computer keyboards don't really mix, but I'll of course tell you all about the dishes I made from Back to Basics. For one of our desserts, I made the French Apple Tart, which was a big hit as always, but since I already blogged about it, I'll move on to the new recipes. The two recipes I made were appetizers, and the first was a Roasted Shrimp Cocktail. I will admit, I made this recipe long before Ina published her most recent cookbook, but I've found it's one of the most impressive ones for people who like shrimp cocktail. Ina is all about turning up the volume on classic dishes, and you're going to need earplugs for this one.

We started with 2 pounds of shrimp, which my grandmother diligently peeled, cleaned and deveined. That's right, I let her have the lovely task of peeling the outer layer off of a dead crustacean and then slicing its back open to remove its innards.

Are you drooling yet?

I unfortunately forgot to tell my grandmother to leave the tails on, so you'll notice in pictures that these little guys are missing them, although considering the speed with which they were ingested, they probably would have just slowed people down. Once they were nice and clean, I spread the shrimp out on a foil-lined sheet pan:


Ok, so my mom was actually the one that did this, but I supervised. Next, we (read: my mom) tossed the shrimp with olive oil:


Hi Mom! And there's my sister, Alex in the background 

Last was to arrange the shrimp in a single layer and sprinkle them with salt and pepper:


and into the oven they went for just a few minutes. In the meantime, we (read: my mom, again) made the cocktail sauce. I regret that my photographer (me) was seriously slacking off during this time, so unfortunately there are no photos of this process, but really guys, how hard is it to make cocktail sauce? No, we didn't make our own ketchup or use fresh horseradish. We basically just took a bunch of stuff from jars and bottles and combined it all together into a big container:


chili sauce, ketchup, prepared horseradish, lemon juice, 
Worcestershire sauce, and Tabasco 

Once the shrimp were fully cooked, I took them out of the oven and allowed them to cool:


The shrimp and the cocktail sauce went into the fridge to chill overnight and when it was time for appetizers before the big Thanksgiving feast, my sister created a lovely arrangement:

See, you don't even miss those pesky tails

 You: So Morgan, you basically made your grandmother, mother, and sister do all the work for this and you just sat back and took pictures? 
Me:  ...Basically. 

And as always, these were a huge hit. The difference that roasting the shrimp makes is incredible; people just go nuts because all they're used to is the typical boiled shrimp which I gather can be sort of bland and easily overcooked.

Make this when: you're hosting a holiday party for your co-workers. You'll knock their stockings off and it can be made the day before. As Ina would say, how easy is that? 

Next Course: Bruschetta with Peppers and Gorgonzola

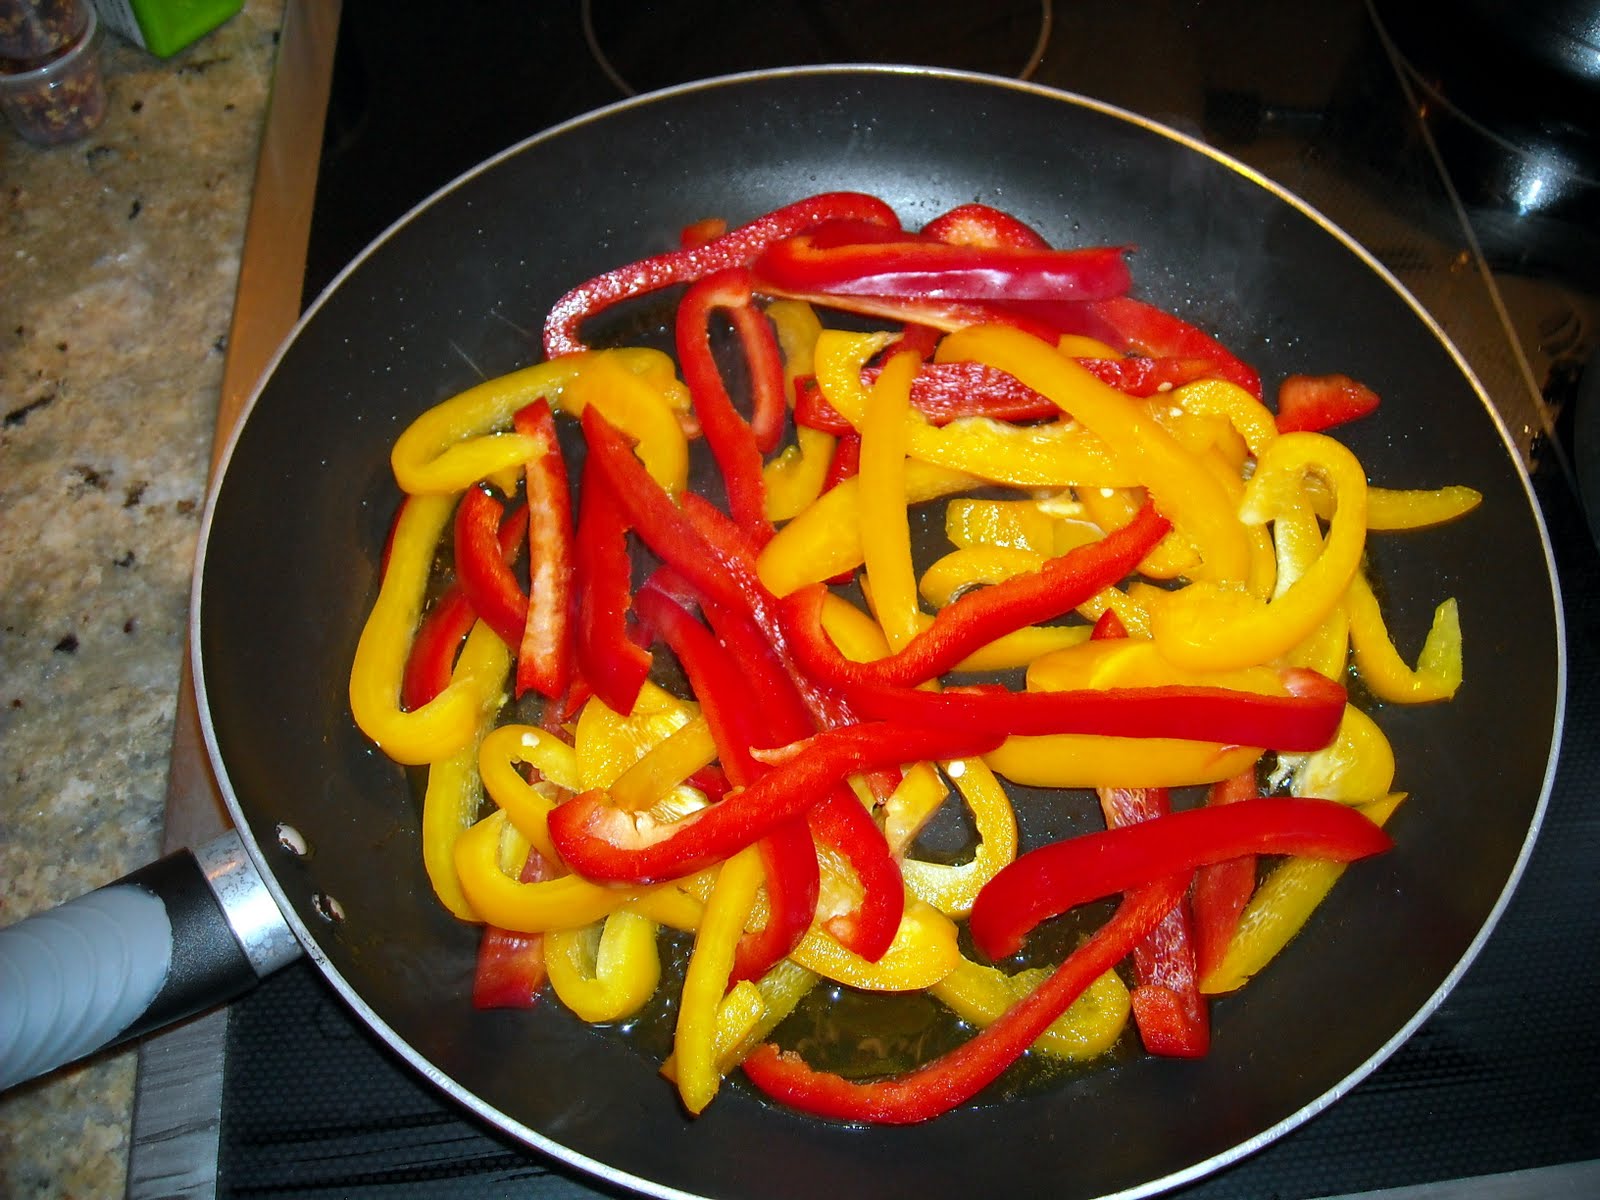
Since my sous chefs were mostly busy either cooking, eating, or both by the time I started the bruschetta, I was left mostly to my own devices. To start, in a large skillet, I sauteed strips of yellow and red bell peppers:


While these were sauteing, my sister made the mistake of wandering into the kitchen, so I of course commandeered her to help, delegating to her the task of slicing a french baguette into individual crostinis:

That's about as far as she got before handing the knife over to her boyfriend, 
Chance, to finish the job. 

After about 12 minutes in the pan, I sprinkled the peppers with sugar, and sauteed them for another 3 minutes:


Finally, I stirred in julienned fresh basil, capers, salt, and pepper and set the pan aside:


Luckily, I had just come to this stopping point when we got the 5 minute warning. For what, you might ask? Brace yourselves for...
The Turkey Fryer!!
DUM DUM DUUUMMMMM  

That's right ladies and gentlemen, this year we truly embraced our "Southern" roots and deep fried a turkey. We'd been talking about it for years and this year was THE year. So all of those not willing to risk our lives or eyebrows gathered on the deck (a.k.a. a safe distance away from the searing hot vat of oil) and watched...

It's going...

and going...
annnddd....
It's in!!

Once we were pretty sure the house wasn't going to catch fire, we went back to the kitchen and kept a' cookin. To finish the bruschetta, I brushed each slice of bread with olive oil and toasted them in the oven for just a few minutes. Using tongs, I topped each slice with a little of the pepper mixture and then dotted each with the gorgonzola. I returned them to the oven for another few minutes just to warm the cheese:


Even the smell of red bell peppers usually make me gag, so I was super skeptical of this dish. But once they were ready, I was so distracted cooking all of my other dishes for dinner, I forgot to try one! Oh no, I thought, this will be the one thing that I've made so far that I didn't even try! Well...besides the shrimp that is. But, as luck would have it, when the appetizer plates were cleared there was one little bruschetta left that had my name on it. Conveniently, it even had just the yellow peppers, and was really good. I loved the combination of the creamy cheese and fresh-tasting bell pepper, and basil just makes everything better. Unfortunately, I don't think my piece had any capers on it, but I can only believe that they would have added the touch of salt and vinegar that would have complimented the rest of the bite nicely. 

Make this when: one of your friends has something to celebrate and you've volunteered to host the cocktail hour before a fun night out on the town.

Next Course: Parmesan-Roasted Broccoli

Oh, and in case you're wondering how the fried turkey came out, it was pretty good. I'm sorry I didn't get a picture of it, but I'll supplement with our beautiful table instead:

 Courtesy of Alex and Chance 

The fried turkey was successfully cooked all the way through and had a really pretty, crispy brown skin, and thankfully, no one and nothing was set on fire. Since we weren't going to put all our turkeys in one fryer...if you will...my mom also made a 17-pound fresh turkey that she covered in herb butter and then practically soaked in butter and wine. There was some debate as to which turkey was the favorite, but for me, there was no competition. I thought the fried turkey was a little dry, and come on, butter and wine? What could be better than that?
Related Posts Plugin for WordPress, Blogger...